 Let me start out this post by stating that I am not very crafty and certainly not creative. When I search Pinterest for a specific idea, I look for projects that are very simple, inexpensive, and non-time-consuming. I usually end up modifying things to make the project even easier and cheaper!
My first canvas project was a fail. I kick myself every time I think of it, because of the time–but especially the money!—wasted. I cut out and decoupaged (the fancy term for what I call “mod-podged,” but usually end up saying “modge-podged”!) a huge map of the world to various canvases for wall art in our living room. If my husband and I didn’t have perfectionistic tendencies, and if we weren’t planning on displaying it in the main room where we “entertain,” it probably would have been fine actually. But there were just enough bubbles and wrinkles on it to drive us crazy. I kept the first map on canvas intact, but the second map (thinking I had figured out how to fix the bubbles) was vehemently torn off the canvas in frustration. I might actually put the intact map up in our basement.
All that to say. . . I am not naturally crafty. However, since I did have that second set of canvases, I thought it wouldn’t hurt to try to redeem them, especially if I wasn’t losing any money on it.
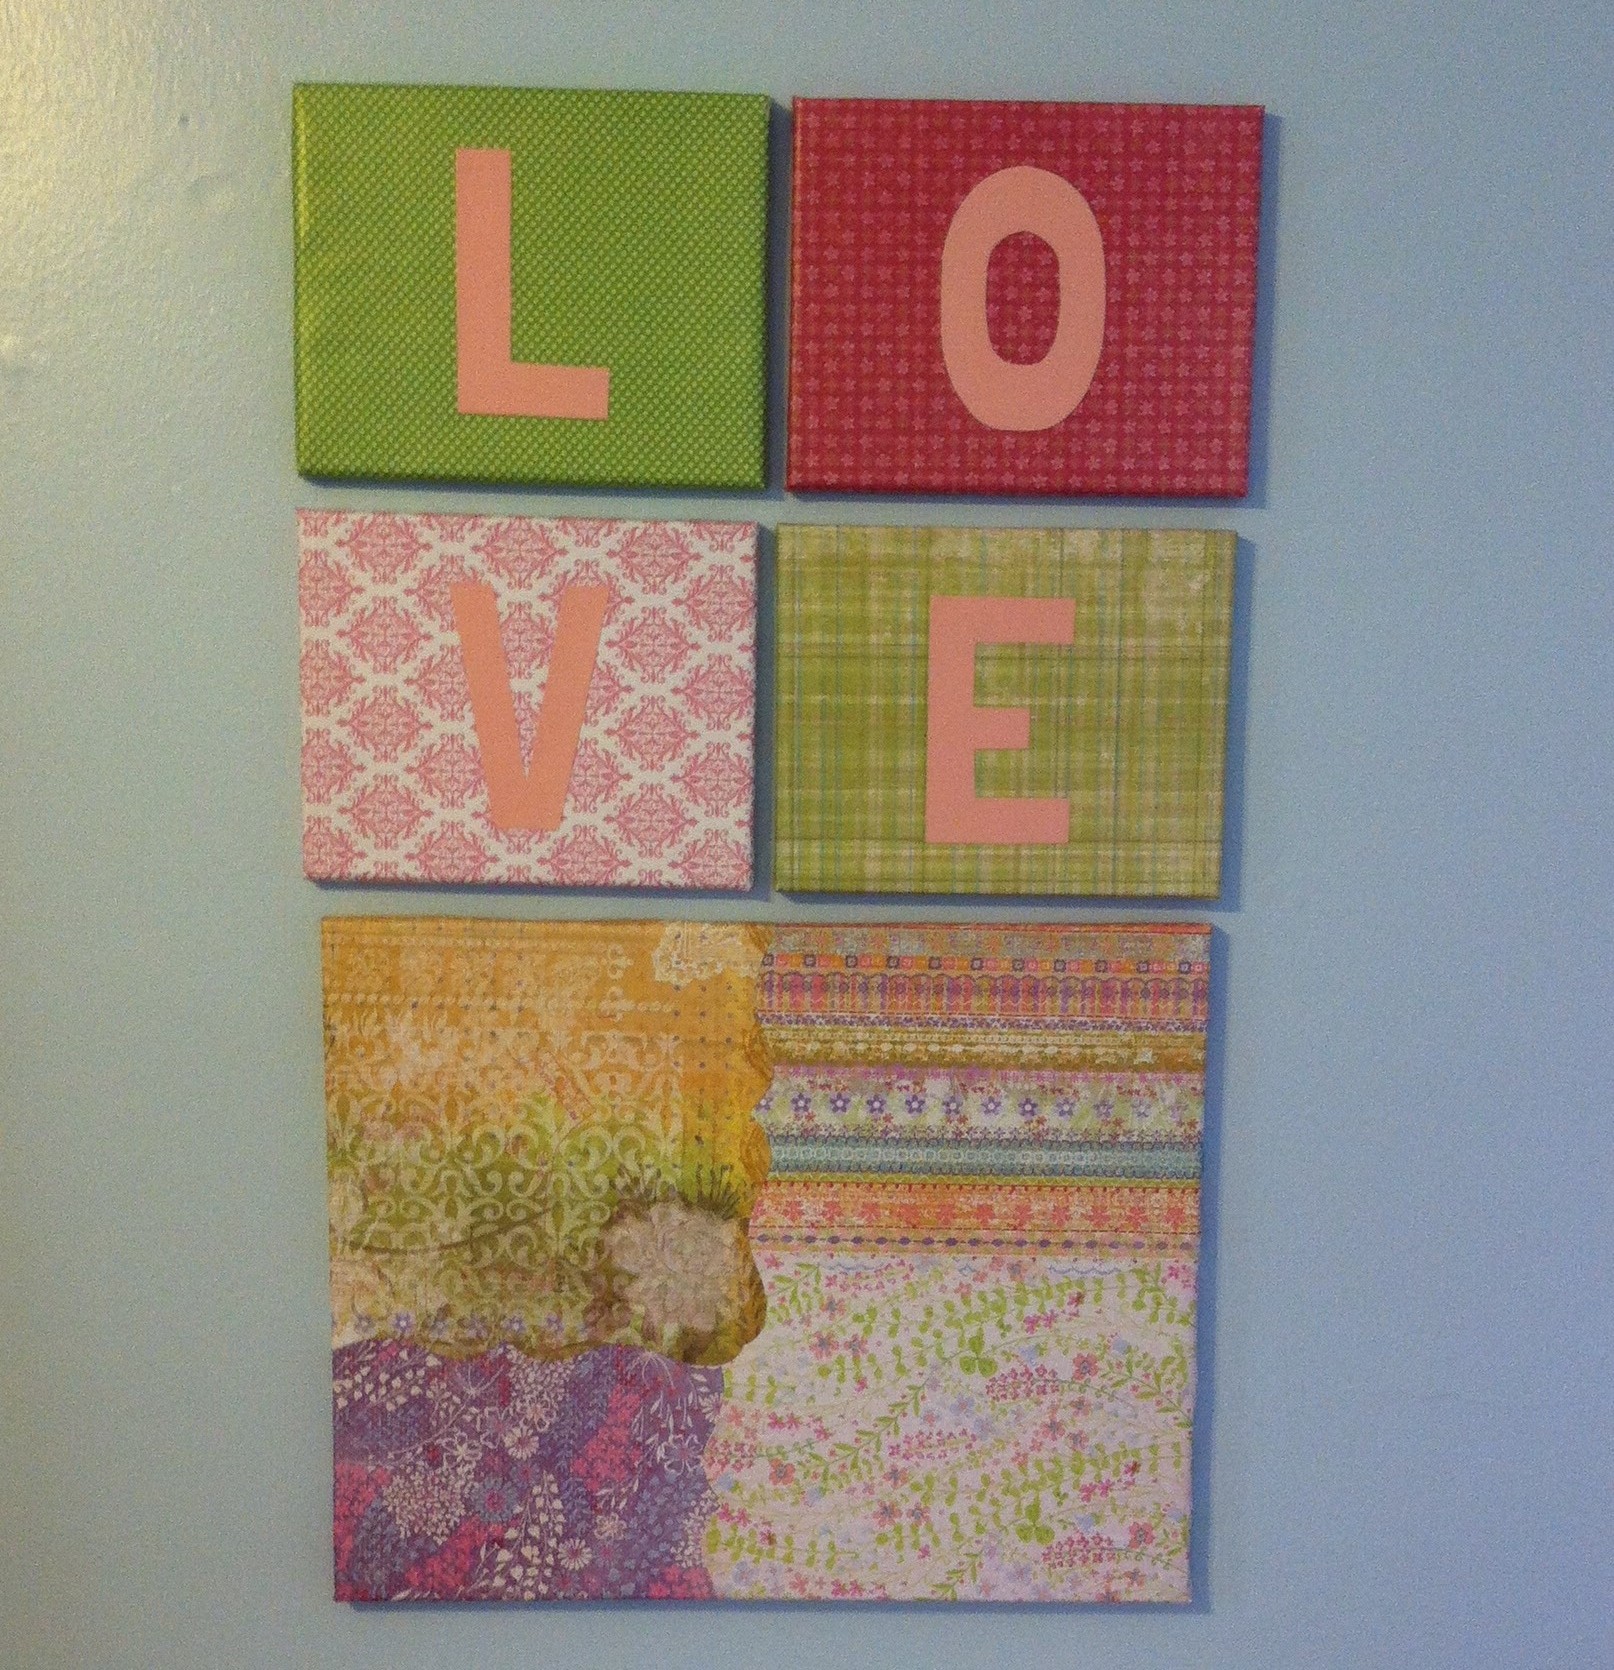
To make room for the new baby coming this summer, we moved my daughter out of the nursery into another bedroom. I wanted her to have something cute above her new toddler bed, but I didn’t want to spend a bunch of money. So I browsed pinterest. I stole bits and pieces of ideas from this post and that. I took out my ruined, map-torn-off canvases and my mod podge. I found some cute scrapbook paper that I had lying around. I free-handed some letters onto more paper (because I wasn’t going to spend the time or money on silhouette machines, stencils, etc), and I created wall art!
This is not a tutorial, but I will explain what I did, in case anyone wants to give it a try.
- I first figured out which scrapbook papers I wanted on which canvases, and what arrangement I wanted the canvases to be on the wall. I used one 16×20” and four 8×10” canvases. I think most of my scrapbook papers were about 12×12 (I used 8). Some of them had curvy edges, which looked nice on the large canvas.
- Working on one canvas at a time, I coated the top and sides with a thin layer of mod podge (matte), using one of those cheapo foam brushes. I waved a piece of paper over it a few times to let it dry just a tad, then I centered my scrapbook paper on top. I folded the edges of the paper over the edge of the canvas. I found that the mod podge on the edges of the canvas wasn’t strong enough to hold the scrapbook paper (the thicker the paper the better, I also found), so I stapled the paper to the wooden frame on the back of the canvas.

- Once all of the papers were glued on and dry, I then applied another thin layer of mod podge to the top and sides of the large canvas.
- I used a straight edge to free-hand the letters of the word love. I used mod podge to adhere each letter to each of the small canvases. Then, I applied a thin layer on top of the small canvases.
- Once completely dry, I applied another thin layer of mod podge to all of the canvases. Interestingly, the second layer really smoothed things out. There are still a few tiny bubbles or wrinkles, but they are hardly noticeable. The thicker the paper, the less bubbling and wrinkling.

 I was so excited to see how well this turned out. It looks super-cute above her bed. I keep staring at it, because I am in disbelief that I was actually crafty! 🙂 This project was so easy, in fact, I think I’m going to have to try another. I’m thinking about doing a book page-covered one or perhaps even a music-sheet canvas. We’ll see. . .
{On Fridays, I attempt to pass along a frugal tip I have learned or am attempting to learn. I love a good deal, and I love to help our family stay within the budget by being frugal in every area of life!}
